Collection: C72 Beach Affair
Name of Project: By the Seaside
Fabulicious Design Team Member: Maggi Harding
For This Project You Will Need:
· FabScraps C72
Beach Affair collection: 1 sheet 008 Fish 2, 1 sheet 001 Starfish, 1 sheet 005
Lighthouse, 1 sheet 002 Starfish 2
· Fabscraps
MC72 001A Journal Book
· Fabscraps
DC72 012 Chipboard
· 2 x
12" strip of coordinating cardstock
· Mask and
white masking paste
· Red mist
· Scraps of
cardboard
· Embossing
powder
· Embellishments
of your choice, i.e. flowers, leaves swirls, etc.
Instructions:
- Paint the paper, 008, Fish 2, with clear gesso and allow to dry. Tear a 1" strip off the right side and then distress and ink all the edges.
- Do some masking on the paper from step 1. Mist the page and apply some paint splatters. Allow the page to dry.
- Border punch a color coordinated 2 x 12" piece of cardstock and glue about a 1/4" from the right side of 002 Starfish 2. Then glue the masked paper from step2 to 002 Starfish 2 overlapping the punched edge as shown in the photo.
- Tear a right angle scrap of cardboard approximately 4.5 " x 5.5". Tear a scrap of paper and tuck under the edge of the cardboard and adhere to the right bottom corner.
- Cut out 3 of the postcards and one of the tags from MC72 001A Journal Book.
- Cut two 4 x 6" pieces of 001Starfish and distress and ink the edges.
- Tear a right angle piece of 005 Lighthouse about 10.5" long and wide enough to fit under your photo and adhere to the top right side of your layout.
- Now layer the two pieces of paper from step 6, the cardboard, and the 3 postcards in a pleasing manner underneath the location of your photo. Refer to the photo for placement guidance.
- Add some additional misting if you wish.
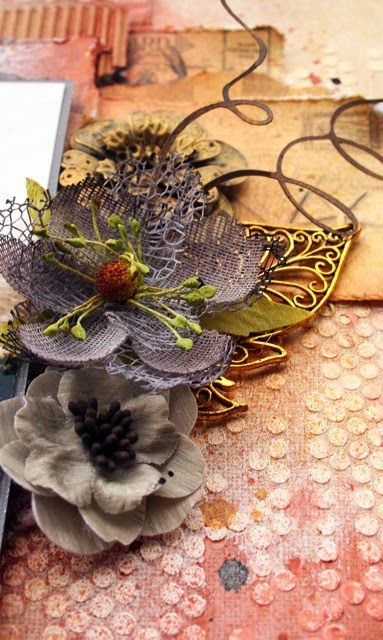
- Take the anchor from the DC72 012 chipboard and either paint or emboss with embossing enamel. Arrange the anchor with the tag from step 5 and some flowers in the bottom right corner.
- Add embellishments of your choice, i.e. flowers, flourishes, leaves, etc.


No comments:
Post a Comment